You can use the spell-check of your browser when you use the Cloud Translation Environment.
You need to configure the spell-check of your Windows 10 or your browser to set it to use the target language of your translation or review task. Unlike for previous Windows versions, in Windows 10 the spell check and auto-correct functionality is set on in the Windows Settings.
Below you can find separate instructions on configuring spell-check (and auto-correct) for Windows 10.
You configure your browser spell-check a bit differently in each browser in Windows 8 and earlier Windows versions.
The instructions below are meant to help you to configure spell-check for the four browsers supported by the Cloud Translation Environment.
Note: The instructions below display screenshots from Windows environment. Although the general way of performing these tasks is similar also in Mac OS X and Linux, some of the button texts and commands of the browsers may differ.
Spell-checking in Windows 10 allows you to identify misspelled words while they are entering text, have commonly misspelled words fixed automatically, and take corrective action on others. Unlike previous Windows versions, Windows 10 inbuilt spell check and auto-correct functionality is configured in the Windows Settings. Turning these features ON at the system level makes them available in all software across the operating system, including browsers.
Configure the spell check and the auto-correct features by doing the following:
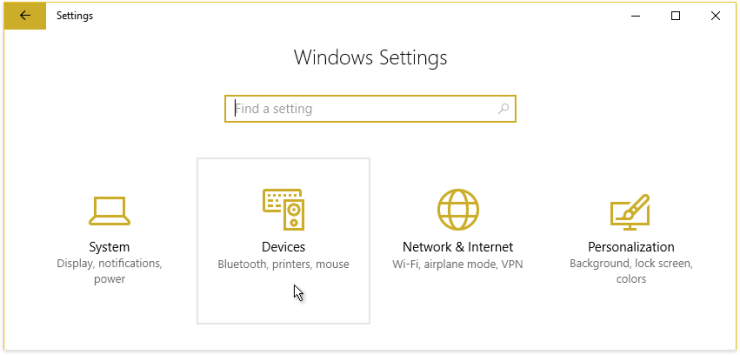
1. In the Start menu, open Settings > Devices.
2. Select Typing.
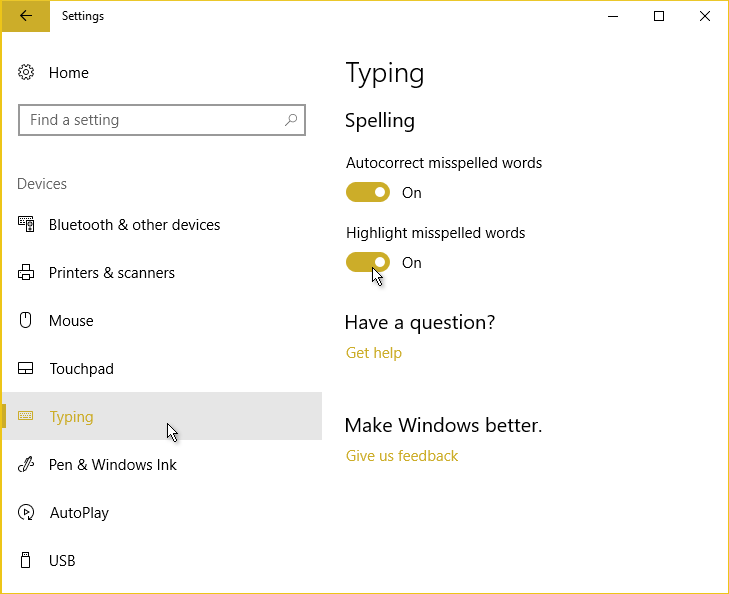
3. In the Typing view, set Autocorrect misspelled words ON (if you find it useful).
4. In the Typing view, set Highlight misspelled words ON.
5. Close the Settings dialog.
Windows now highlights (and auto-corrects) misspelled words for texts in languages you have installed a language package to Windows 10.
Spell-checking in Windows 8 allows you to identify misspelled words while they are entering text, have commonly misspelled words fixed automatically, and take corrective action on others. In Windows 8, spell-checking support is available to applications across the entire operating system, including Internet Explorer 10.
Spell-checking is also available as an IE10 browser feature on all supported versions of Windows, including Windows 7.
To configure the spell-check in Internet Explorer 11 (windows 7) do the following:
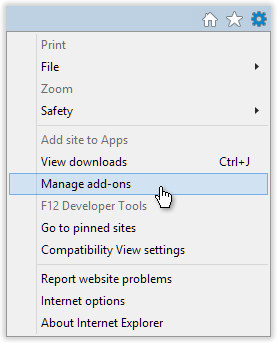
❶ Open the Internet Explorer menu on the right upper corner and select Manage add-ons.
❷ Internet Explorer Manage Add-ons view is displayed.
❸ On the lower left click Enable spelling correction.
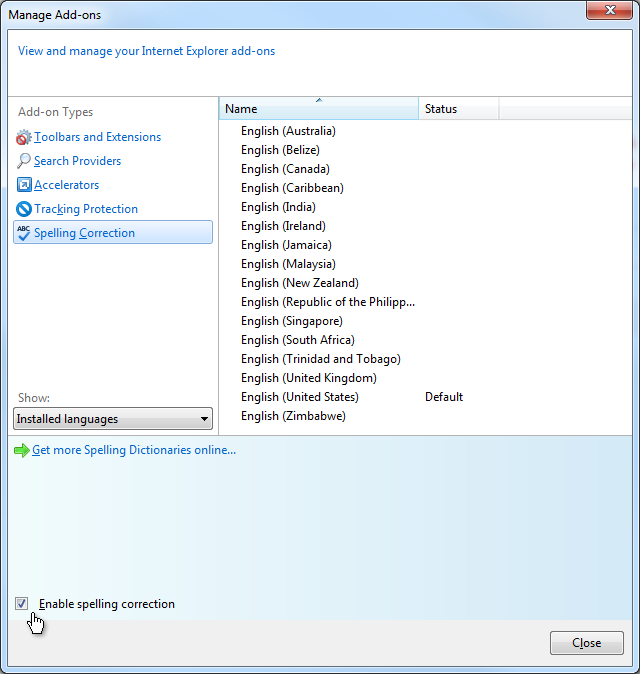
Note: Your browser may list other languages than on the image above, depending on which languages are supported in your Windows system. Ensure that you have installed support for the appropriate language(s) to your Windows system.
To configure the spell-check in Firefox do the following:
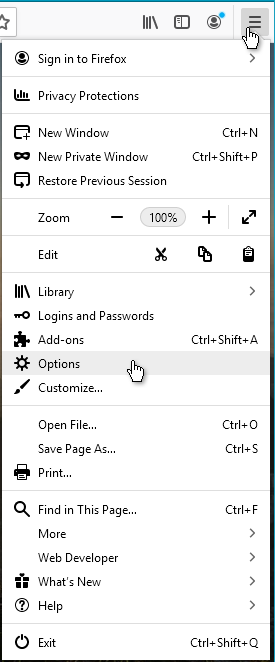
❶ Open the Firefox menu on the right upper corner and select Options.
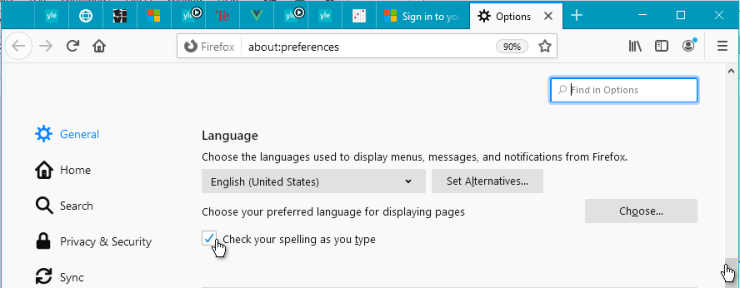
❷ Firefox Options page is displayed.
❸ On the left menu of the Options page the General option is selected by default.
❹ Scroll the page down to the Language section and check the Check your spelling as you type option.
❺ Close the Options tab.
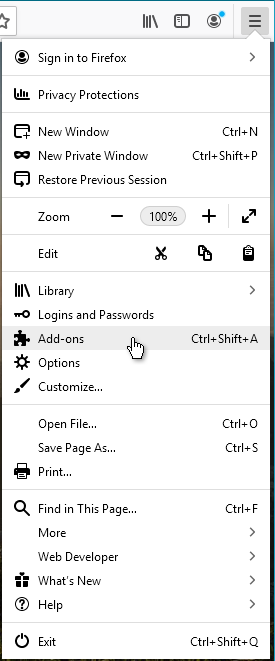
❻ Reopen the Firefox menu on the right upper corner and select Add-ons.
❼ The Add-ons Manager page is displayed.
❽ Search for a spell-checker or a dictionary, select it in the Add-ons list and click Add to Firefox.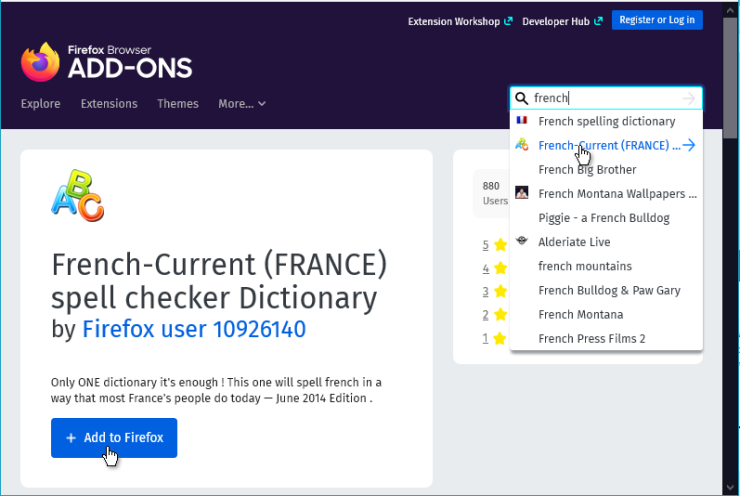
❾ Close the Add-ons page.
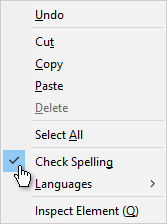
❿ Launch CTE collection and open any segment, right-click and check that the Check Spelling option is selected.
⓫ Select from the Languages list menu the language which you want to use for spell-check.

To configure the spell-check in Chrome do the following:
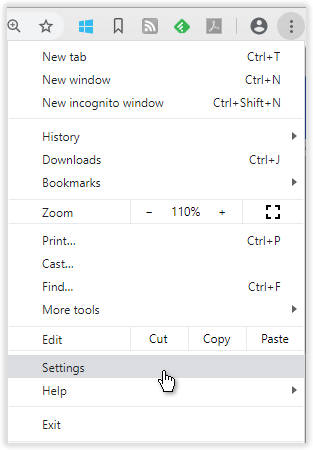
❶ Open the Chrome menu on the right upper corner and select Settings.
❷ Chrome Settings page is displayed.
❸ At the bottom of the Settings page click Advanced.
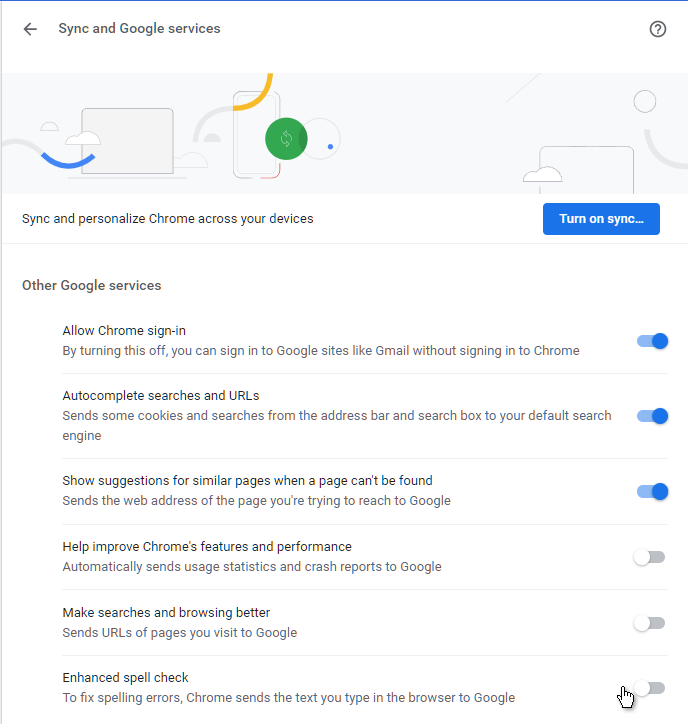
❹ In the Privacy and Security section, select Sync and Google services and ensure that the Enhanced spell check option is OFF. (This is a workaround if the Chrome spell-check does not otherwise work.).
❺ In the Advanced settings, select Languages. The Languages section with the Language and Spell check settings is displayed.
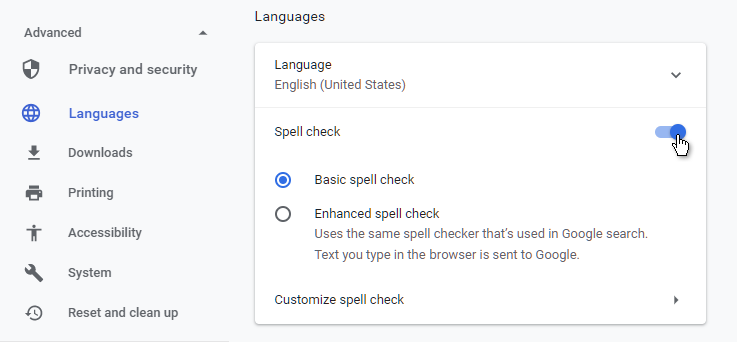
❻ In the Language section, set the Spell check switch ON. Select the Basic spell check.
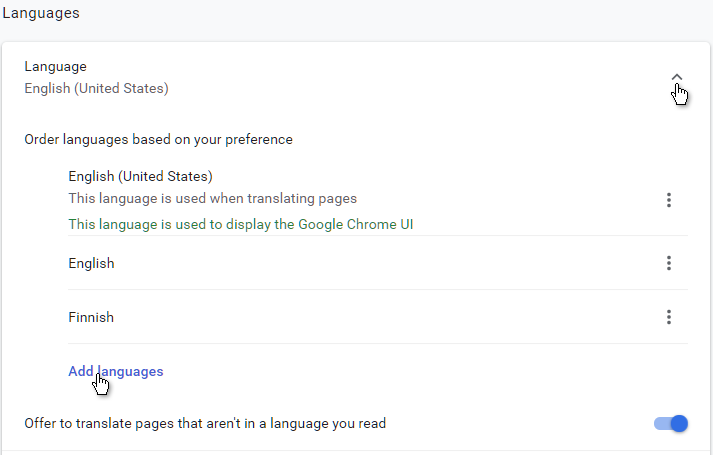
❼ Click Language to display the Language section, where you can order and add languages.
❽ The Languages dialog is displayed.
❾ If not already checked, check Enable spell checking.
❿ Add the target language you are translating to or reviewing to the Languages list by selecting Add.
⓫ The Add language dialog is displayed.
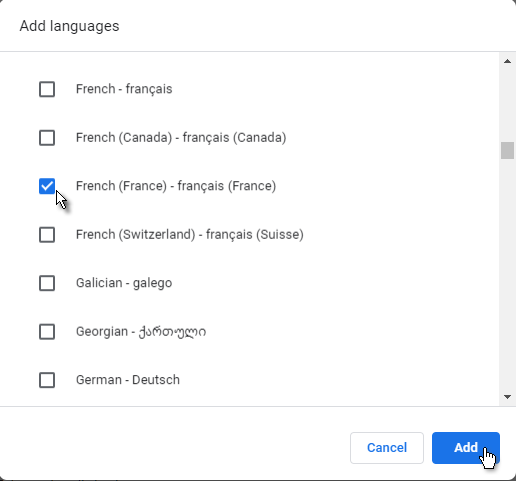
⓬ Select the language from the field menu and click Add.
⓭ The Add language dialog closes and the added language is displayed in the Languages dialog Languages list.
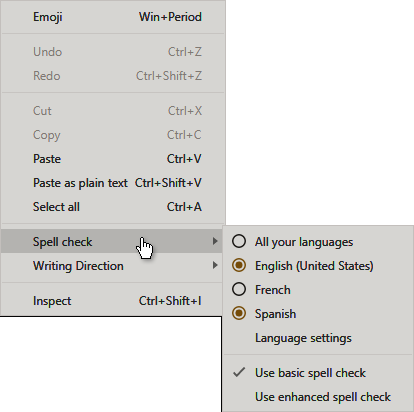
⓮ Launch CTE collection and open any segment. Right-click to ensure that the correct language is selected in the Spell check submenu.
Note: You can add words which the spell-check falsely highlights as misspelled into the custom dictionary by clicking Customize spell check in the Languages dialog. The Manage spell check dialog is displayed. Insert the word into the Add new word field and click Add word. The word is added to the custom dictionary and displayed in the Custom words list.